DANCHAN'S ZINE PROCESS
Ever wondered about the behind the scenes process of zines? Here's a brief step by step look on how I design and produce my zines! This page specifically follows the process behind the cover for "The Daily Life of Danchan the Disabled Designer."
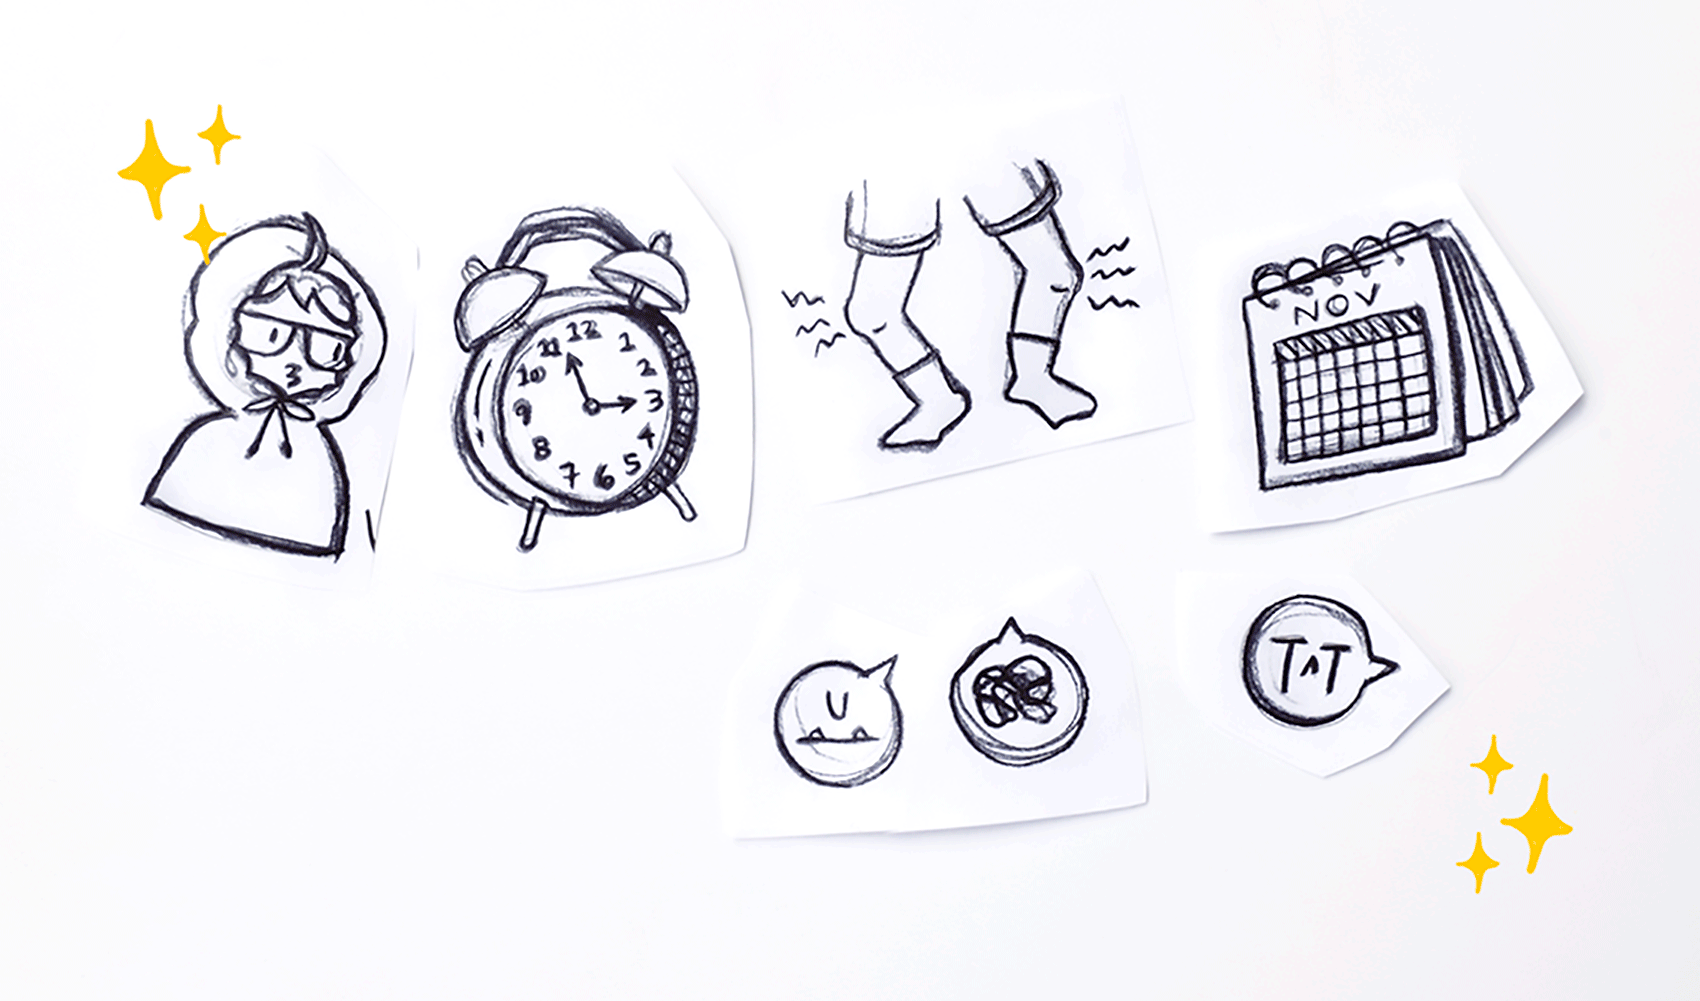
STEP 1: SKETCHING
I use my sketchbook to brainstorm all my visual ideas.
I use red/orange color pencil first for a rough sketch and then go back in with blue to finalize my lines.
This is because the value of blue is darker than the value of red, so if I scan my designs in grayscale, the blue lines will be more noticeable.

step 2: resizing
I scan my sketchbook and edit / resize my designs so I can print them out and eventually transfer them to drawing paper for refinement.

step 3: tracing
I take my printed designs, mark the back with a pencil, cut them out, and then tape them to drawing paper to trace them.
step 5: refine
I use various fancy ink tools (mostly pigma micron 0.8 & 0.3 pens) to ink in my designs. I then scan these to I can edit them digitally on photoshop!

step 5: edit & color
On my computer, I erase all the white space, clean up lines, and make all my lines a uniform dark gray color to make it easier to color.
I arrange them in whatever composition I want, and BAM!!! DONE!!!
